Coin dies are the most critical component in manufacturing coins, and making the dies themselves is a complex process. To learn how coin designs start as simple 2D sketches and are transferred to dies to stamp thousands to millions of coins, continue reading this detailed guide.
What are coins dies?
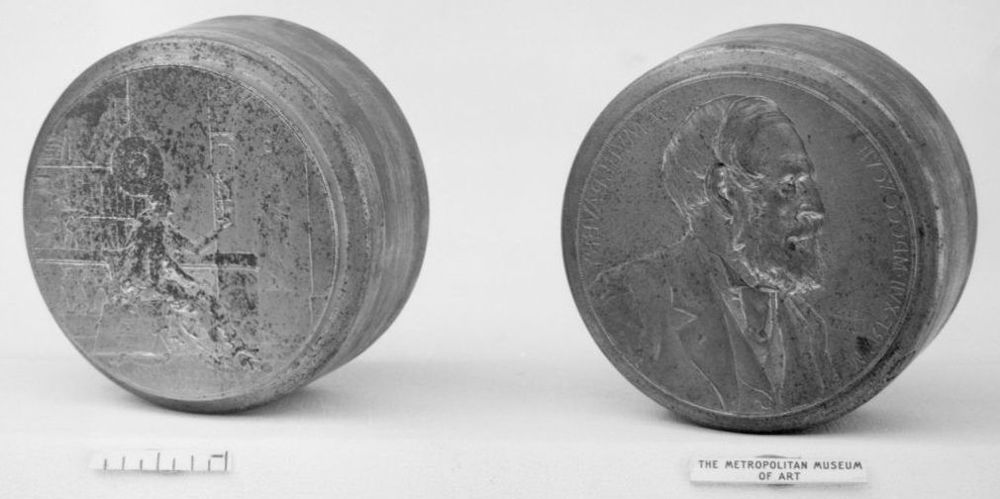
Coin dies are pieces of metal – usually steel – shaped like a cone or cylinder used to stamp images onto blank metal discs (also known as coin planchets) to make coins. Coin dies are engraved to include the inverse image that will be stamped on the coin. Today, coins are made with both front dies and back dies, which is why we see two different images on each side of a coin.
How coin dies are made
Step 1: Design
The process of making coin dies begins with a line drawing that represents a two or three-dimensional image. These designs usually come from artists on staff at a mint but can also include submissions from the Artistic Infusion Program and, on occasion, even members of the public.
Once a line drawing is selected and approved, a medallic artist (often a sculptor) will build a three-dimensional representation of the design. The medallic artists will often utilize digital software to aid in creating these models, which can also be produced using common materials like plaster and clay (or a combination of all three). Additional changes can be made using computer software, and a high-resolution scanner creates a digital copy of the finalized design.
Using the digital or sculpted model, the coin’s design is recreated on the end of a steel rod; this first iteration of the die is known as the master hub. Prior to computers and digital coin engraving, the Galvano and French portrait lathe were used to create a master hub. The Galvano model is a large-scale version of the coin and its design, making it easier for the artists to work with compared to the actual coin that was being minted. A lathe is the cutting tool that can take a Galvano and replicate the image at the correct scale to fit the master hub.
Step 2: Master Hubs & Dies
In modern minting, a Computer Numerically Controlled (CNC) milling machine is used to carve the design onto a cone-shaped steel rod, giving us the master hub. The face of the master hub, unlike the larger sculpture made by the artists, is the same size as the actual coin it will be used to produce. The CNC milling process essentially scales down the sculpture while retaining all its details and nuances into a coin-sized work of art.
Each Mint facility will have its own master hub for a given coin, identified by a unique mintmark. In the United States, most coins either bear the letter ‘P’ to denote the coin was minted in Philadelphia or a ‘D’ for Denver.
After a master hub has been created, it is used to create master dies. Master dies start off as die blanks, which are three-inch pieces of cone-shaped steel. Die blanks are then placed under a hubbing press, which uses up to 265 tons of force to drive the master hub into the die blank. The die blank that the master hub has stamped then becomes a master die. The master hub features the actual positive image of the design featured on the coin, while the master die bears the negative or inverse image.
Step 3: Working Hubs & Dies
The reproduction of the original design continues by taking master dies and pressing the image into a piece of steel to make working hubs. The working hub then stamps its image onto what becomes working dies–these are the actual dies that will be used to strike the coins that are released to the public.
The motive behind recreating so many of the same designs on different hubs and dies is to preserve the quality of the original design. Since the working dies are subject to wear and tear from heavy use, the mint needs to replace them often. Rather than starting the process over with creating another master hub, the mint will make new working dies from working hubs.
Several identical working dies might be needed, depending on the coin. There’s no “average” life of a die, simply because different coins can be easier or harder to work with. According to the U.S. Mint a single penny die lasts for about one million coins, while the die used to mint dimes only lasts for about 275,000 coins.
Since there are different sizes of coins and medals, the mint has to make different shapes and sizes of working dies to create the full variety of coin and medal sizes. For this purpose, the CNC machine is used to grind metal to form the body and tip of the die, more or less resizing the die as needed.
Step 4: Final Touches
Before the working dies begin a life of striking hundreds of thousands of coins, they have to be prepared for the task. First, the dies are heated up to as much as 1,800ºF before being plunged into water to cool them; this process–known as quenching–hardens the steel. Unfortunately, a consequence of annealing is that the metal can become brittle, putting it at risk for cracking. To make the dies more resilient, they are then heat-treated by going through two cycles in a 400 to 450-degree tempering oven.
After tempering, any final adjustments needed are made to the dies. Next, the mint assigns each working die a serial number, which is laser-engraved into the die. These serial numbers are used to track the working dies’ usage and lifespan. (This serial number doesn’t appear on coins.)
The quality checks continue, with an expert manually inspecting the dimensions, in addition to examining the dies under a microscope. The dies are then cleaned, buffed, and polished to eliminate any nicks or other imperfections. Finally, the working dies are ready to start striking coins for circulation.
Proof coins
Proof coins are a cut above your ordinary coin and are the finest quality coin produced by the Mint. U.S. Mint proof coins are made exclusively at the Philadelphia, San Francisco, and West Point Mint facilities, are double-struck (in other words, stamped twice with the same die) to impart a more detailed design and feature a special frosted finish and mirror-like shine.
Minting proof coins requires more than minting standard coinage and a special set of dies. To make proof coins, an abrasive, diamond-based paste is applied to the die to prepare it for polishing. Machine polishing comes next, followed by an additional round of hand-polishing the die under a microscope. Once the die has been polished, a laser is used to cut indents into the die; these indents are then daubed with a frosted texture.
After polishing and frosting, the proof dies head to a clean room, where they sit in a vacuum chamber. Here, the dies undergo Physical Vapor Deposition (PVD). During the PVD process, vaporized chrome is released within the chamber, settling on the coin to form a thin, protective layer on the surface of the die. This chrome coating helps defend the die from premature wear. Following a final buffing and inspection, the proof dies are ready to begin striking glossy proof coins.
As you can see, minting proof coins is a much more laborious process, which results in impeccable pieces of art. However, since they take more time to make and require more labor, they are more expensive.
Originally made for archiving and exhibitions, proof coins are produced in greater quantities today and sold to collectors and enthusiasts.
What happens when a coin die is used up?
Typically, when a coin die is used up, the mint will destroy or deface it to prevent unauthorized use or counterfeiting. In some cases, however, the mint will sell retired coin dies in a set, along with some of the coins struck by it. Used coin die sets are primarily used for decorative purposes or as paperweights and can sometimes be found for sale online for around $40-50.